How To Change Mac Address With Terminal Emulator

Media Access Control is a unique ID consisting of 12 digit hexadecimal numbers. It comes already hard-coded on your mobile system. This identifier helps to distinguish a specific device over the cluster of devices connected to a particular network. If you are surfing the web from your Android phone using a WiFi network, the network adapter of your WiFi devices must have a MAC address to set up the connection and transfer data over the network. MAC address looks something like this XX::XX:XX:XX:XX:XX, where each X is a hexadecimal character i.e. ranges from 0-9 or A-F. A possible MAC address could be, 1A:2B:3C:4D:5E:6F where the first 6 digits find your manufacturer and the last six digits find your network interface card.
To change back to your normal MAC Address, just follow these steps to change it back or restart your phone. It makes this easier if you already know your real MAC Address which can be found at: All Programs Settings Wireless & Networks WiFi Settings Menu button Advanced.
There any many instances where someone has blocked your device from connecting to their router, what should you do in that case? Changing the MAC address of your device would definitely work in this case. If you are connected to a WiFi but you don’t want to leave any trace of your presence on the network i.e. you want to protect your privacy, in that situation also you can change the MAC address in Android Devices.If you ISP binds the services to a particular set of MAC addresses but you changed your device, you can change the MAC address to get internet access. Of course, MAC address can be changed for many other malpractices but this guide on changing the MAC address doesn’t promote such illegal practices, it only only meant to give you a insight on the concept.
Read Also:
If your Android device is rooted, you can easily change the MAC address of the device but what if it is not? Don’t worry we have a trick to change the MAC address without rooting your android device. For changing the MAC address permanently, you will have to root your device. However, if you just want to have it temporary changed, you don’t need to root your device. But before moving on with changing the MAC, let us see how can you look up your MAC address. I strongly recommend to just note down your MAC address before starting to experiment on it. You also need to know the connection name, to get it all follow the steps below:
- Open up settings and then go to WiFi.
- Now, you will see a gear on the top of this screen, click it. But if you don’t see it, look for “Configure WiFi” option and click it. Some Android system have Advanced option in WiFi, MAC address can be found there also.
- Voila ! You can find the MAC address on the bottom of this screen. Keep a note of it.
- In order to get the interface name, you will have to install Terminal Emulator for Android. Go to Google Play Store and download it or click the link to get it.
- Once you download it, install it and open up.
- Type the following command : ip link
- You screen will be filled with lot of information, useful and useless. Now, remember I told you to keep a note of your MAC address. Just look for this MAC address under “link/ether” for all the cases.
- The one that matches our MAC address, is the connection name. For most of the devices it is either “wlan0” or “eth0”.
Now, that we know our MAC address and the connection name, we can go on to change the MAC address with this terminal emulator only. Before that you should have a valid MAC address in your mind or generate one from this link. Once, you have a new MAC address, just get on with the below steps:
- Launch the Terminal Emulator
- Just type the following command: ip link set wlan0 address XX:XX:XX:YY:YY:YY, where wlan0 is the name of the interface and XX:XX:XX:YY:YY:YY is the MAC address you want to set.
- Important thing to keep in mind that the manufacturer name should be kept unchanged while changing the MAC address i.e. XX:XX:XX (first 6 digits) should be same as before, otherwise you might face a lot of authentication issue.
- This is only a temporary change and when you restart your device, your previous MAC address will be retrieved back.
This was all about changing the MAC in non-rooted mobile phone, for rooted devices you have a bunch of options to select from. Here are a few techniques you can use:
1. Using BusyBox App
We still need a Terminal Emulator for this method. Open the Terminal and then type the following commands:
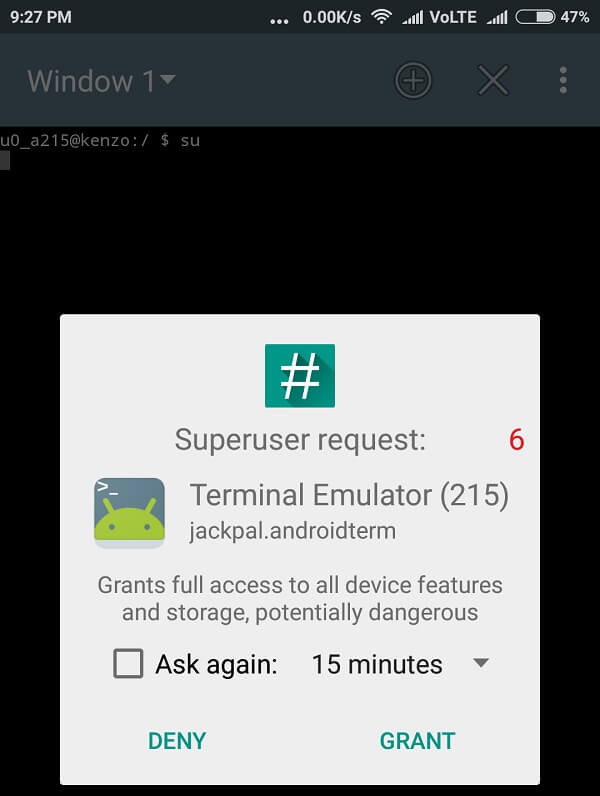
- su –> This will get you into super user mode
- busybox iplink show wlan0 –> this will pop up the current MAC address
- busybox ifconfig wlan0 hw ether XX:XX:XX:XX:XX:XX –> configure the new MAC address
- busybox iplink show eth0 –> this is to check whether the MAC address has been changed or not.
2. Using ChameleMAC App
Download and install the app from the link above and follow the steps:
Driver A4Tech X6-70D 7.8. This can be assured, as the competing mouse point is here with the A4Tech product. Although we are sorry about the tossing roller, due to the shape and weight of the mouse, our A4Tech X6-70D Mouse would be for this piece. Its price is only slightly higher than that of the seventies, but it came to us better. A4tech camera driver installer. Download A4Tech X6-70D Mouse Driver 7.8 (Keyboard & Mouse) How to install the driver properly: - Save it somewhere where you will remember after download. A4TECH X6-80D MOUSE DRIVERS FOR MAC - uploaded on, downloaded 42 times, receiving a 3.79/5 rating by 57 users. Drivers Port Facing difficulties isn’t a problem for you,because here you can download the best drivers for your device, which make it work faster and better. Put an end to the limitations of a4etch cables and spoil yourself with the latest technological amenities using the A4tech GN Using outdated or corrupt A4Tech Glaser XD drivers can cause system errors, crashes, and cause your computer or hardware to fail. Royche / A4Tech busts out glass-friendly Glaser Mouse X6-70D. A4tech Glaser X6 70d Driver for Windows 7 32 bit, Windows 7 64 bit, Windows 10, 8, XP. Uploaded on 3/1/2019, downloaded 1230 times, receiving a 79/100 rating by 420 users. Suited for 2020 OS and PCs.
- Open the app, it will ask for root permissions. Just grant it !
- Now, it is way too easy to work on this app. Everything is provided on the main interface of this app.
- Take a note of the Real MAC address of your computer and then go ahead to generate a random MAC address by clicking on the button specified.
- Click on “Apply new MAC”, if you find the generated MAC address good enough or you could generate another random MAC address.
- Once you click apply it, it will ask for confirmation. Go ahead with the change option.
Some Android phones actually don’t let you change MAC address without rooting it, but if you are lucky enough you will get through it. Android system is upgrading with new security features with every upgrade, it is becoming difficult to change the MAC address Android Permanent. You can try whatever method you like to change the MAC address, it doesn’t really matter. But do remember to change it on your own risk. If you have any problem, comment down below and let me know !
Read Also: How To Use Your Android Device as a Webcam