Bitbucket With Visual Studio For Mac
Host an ASP.Net Core project in Bitbucket (Using Visual Studio for Mac) 1. Create an account in Bitbucket ( ) if you have not created one before. Create a repository in Bitbucket with your project name. Inorder to manage things in git we need a tool.
Bitbucket Extension is a plugin for Visual Studio integration with Bitbucket Git repositories. Main features:
- Create - lets user to create a git repository on Bitbucket.org and synchronize it with your local version.
- Clone - lists all existing Bitbucket repositories and allows user to clone it locally.
- Publish - user can publish his local-only repository to Bitbucket.
- View all pull requests.
- Create/Modify new pull request.
- Approve/Disapprove/Merge/Decline pull requests.
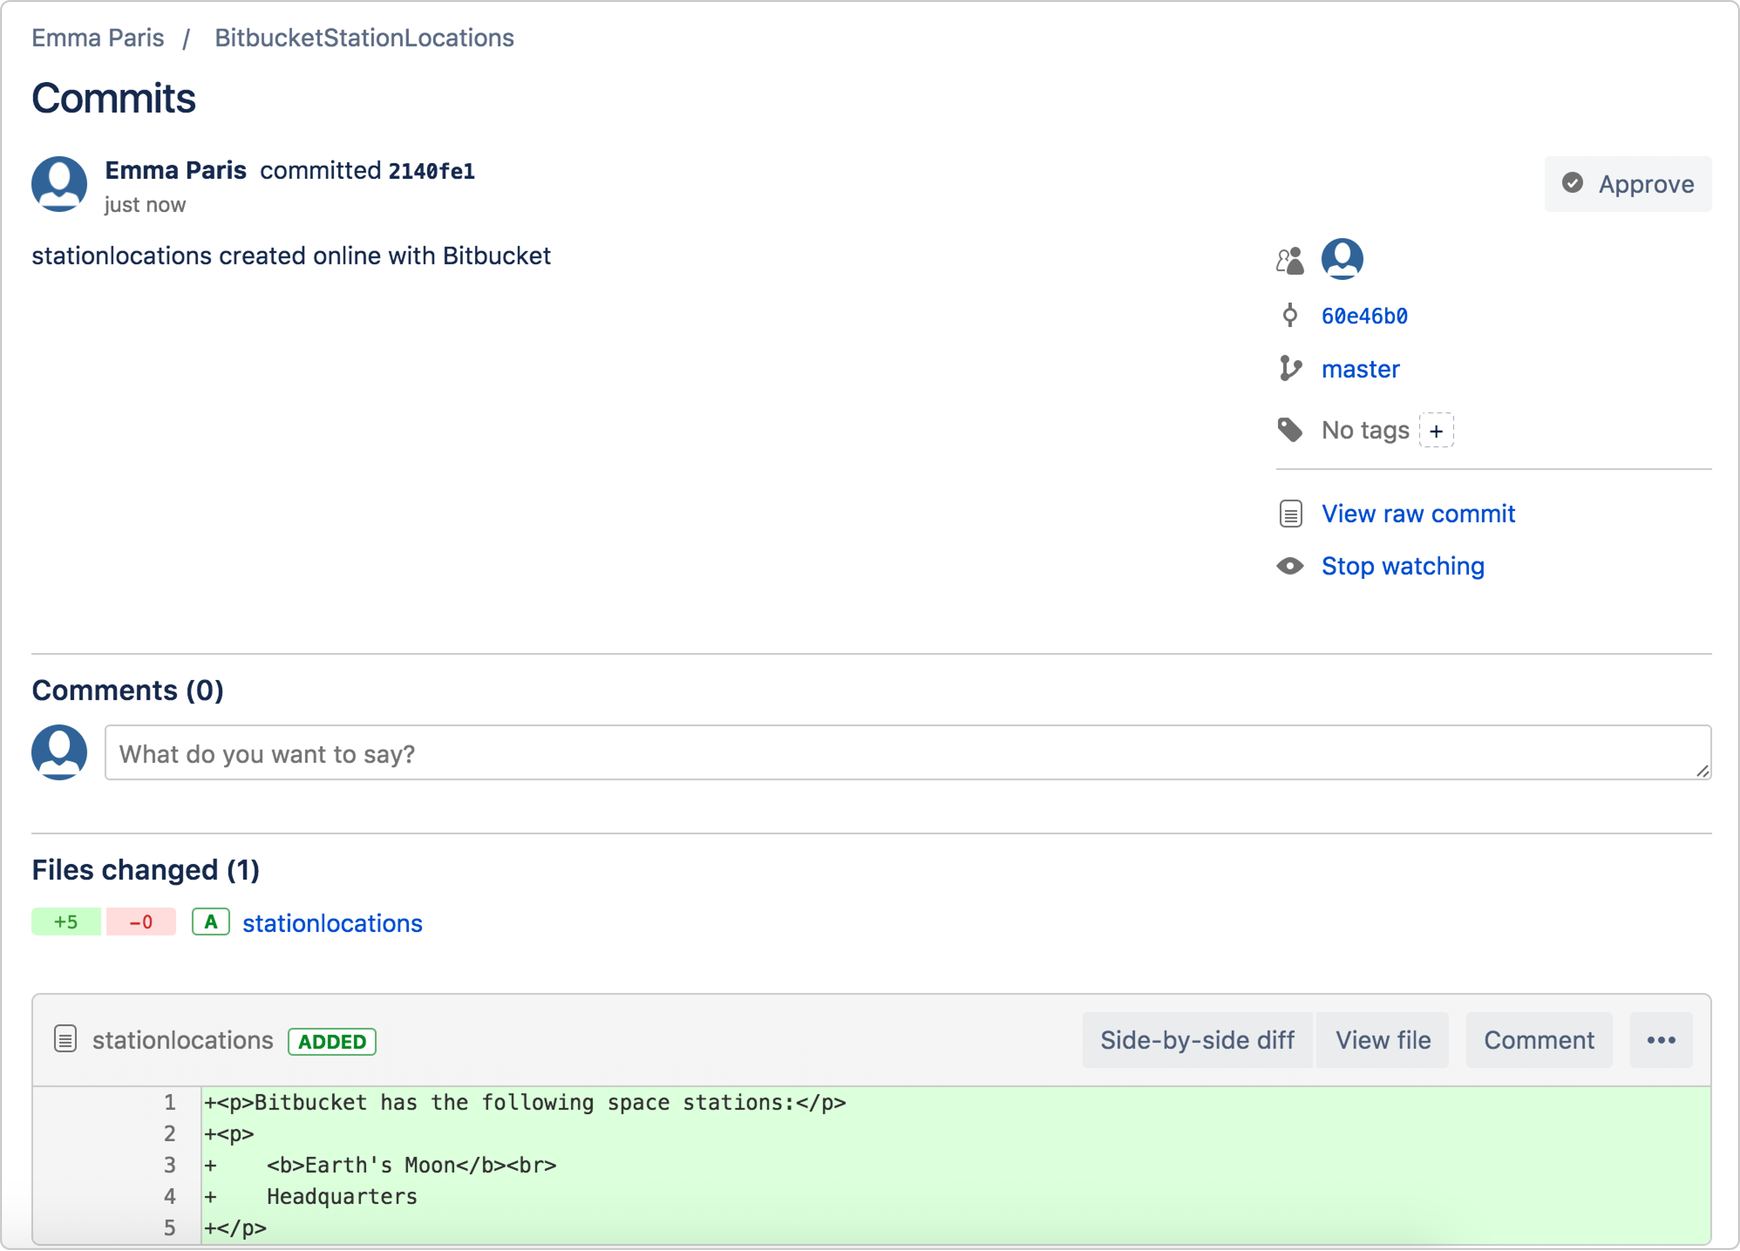
- View files, commits and comments from pull request.
- View Pull request diff with syntax language highlighting.
Donate via PayPal
The extension will stay free forever. You can voluntarily support me by donating via PayPal.
Contributing
Please read CONTRIBUTING.md for details on our code of conduct, and the process for submitting pull requests to us.
Getting Started
Prerequisites
Visual Studio 2015/2017 installed.
Installing
Go to Visual Studio Bitbucket Extension, download VSIX file and install it.You can also install it from within Visual Studio. Tools -> Extensions and Updates.
Demo
Authors
- Zbigniew Szepczyński - MistyK
- niba - niba
See also the list of contributors who participated in this project.
License
This project is licensed under the MIT License - see the LICENSE.md file for details
Acknowledgments
Thanks to
Github which was a source of knowledge for us. Thank you guys.
Related
While this tutorial has content that we believe is of great benefit to our community, we have not yet tested or edited it to ensure you have an error-free learning experience. It's on our list, and we're working on it! You can help us out by using the 'report an issue' button at the bottom of the tutorial.
Introduction
Visual Studio Code has become one of the most popular editors out there for Web Development. It has gained such popularity thanks to its many built in features, including source control integration, namely with Git. With Git being one of the most popular and powerful Source Control providers, harnessing its power from within VS Code is just icing on the cake.
Source Control Tab
The first thing we need to do to take advantage of Source Control integration is initialize a project as a Git repository. Typically, I would open up the built in terminal in VS Code and type git init like so.
Although that is not particularly difficult, there’s an even easier way. Start by opening up the Source Control tab (the icon looks like a split in the road) in the left-side panel. Then click the icon in the top right of the panel as shown below.
This should open up your finder to the current directory. Select ‘Initialize Repository’.
Now, if you check your file system (make sure you can see hidden files) it now includes a .git directory. Notice also that my terminal specifically recognizes this directory as a Git repository by turning green. This is a feature of my terminal, not VS Code itself.
Let’s add a file called index.html. After doing so, notice in the Source Control panel that our new file shows up with the letter 'U’ beside it. 'U’ stands for untracked file, meaning a file that is new or changed but has not yet been added to the repository.
You can now click the plus icon by the index.html file listing to add the file to be tracked by the repository. Notice now that the letter next to the file has changed to an 'A’. 'A’ stands for a new file that has been added to the repository.
To commit our changes, type a commit message into the input box at the top of the Source Control panel. Then, click the check icon to perform the commit.
After doing so, you should notice that are no pending changes as shown here.
Let’s add a bit of content to our index.html file. We can use an Emmet shortcut to generate an HTML5 skeleton by pressing the ’!’ character followed by Tab. Go ahead and add something in the body like a Header and save it.
As you would expect, in the Source Control panel, you should see that your file has been changed. It should show the letter ’M’, which stands for a file that has been modified.
For practice, go ahead and commit this change as well.
Gutter Indicators
Let’s move past the Source Control panel and take a look at what’s called the “Gutter in VS Code. The 'Gutter” is the skinny area to the right of the line number. If you’ve used code folding before, the maximize and minimize icons are located in the gutter.
Let’s start by making a small change to our index.html file such as the content within the header tag. After doing so, you should notice a blue vertical mark in the gutter of the line that you changed. The vertical blue mark signifies that the corresponding line of code has been changed.
Now, try deleting a line of code. For demo purposes, I’m going to delete one of the lines in the head section of my page. Notice now in the gutter that there is a vertical red line. The vertical red mark signifies a line or group of lines that has been deleted.
Lastly, at the bottom of your body section, add a new line of code and notice the green bar. The vertical green bar signifies a line of code that has been added.
Diffing Files
VS Code also has the ability to perform a diff on a file. Typically, you would have to download a separate diff tool to do this, so it’s great that VS Code has this feature built in.
To view a diff, open up the Source Control panel and double-click a changed file. In this case, double-click the index.html file. You will be brought to a typical diff view with the current version of the file on the left and the previously committed version of the file on the right. Notice that I’ve added a line in the current version of mine.
Working with Branches
Moving to the bottom bar, we have the ability to create and switch branches. If you take a look at the very bottom left of the editor, you should see the source control icon (remember it looks like a split in the road) followed most likely by “master” or the name of the current working branch. To create a branch, click on that branch name. A menu should pop up giving you the ability to create a new branch. Go ahead and create a new branch called “test”.
Now, make a change to your file, something that signifies you are in the new test branch.
Commit those changes to the test branch. Then, click the branch name in the bottom left again to switch back to the master branch.
After switching back to the master branch, notice that the change committed to the test branch is no longer present.

Working with Remote Repositories
We won’t touch on it in depth here, but through the Source Control panel, you do have access to work with remote repositories. If you’ve worked with a remote repository before you’ll notice familiar commands like pull, sync, publish, stash, etc.
Useful Plugins
Not only does VS Code come with lots of built in functionality for Git, there are also several very popular plugins to add additional functionality.
Git Blame
You can see Git Blame information in the status bar for the currently selected line.
This may sound intimidating, but not to worry, the Git Blame plugin is much more about practicality than it is about making someone feel bad. The idea of “blaming” someone for a code change is less about shaming them, and more about figuring out the right person to ask questions to for certain pieces of code. Sure, you can start the finger pointing if something breaks, but that’s not the intended use here.
As you can see in the screenshot, this plugin provides a subtle message related to the current line of code you are working on in the bottom toolbar explaining who made the change and when they made it.
Git History
Although you can view current changes, perform diffs, and manage branches with the built in features in VS Code, it does not provide an in-depth view into your Git history. The Git History plugin solves that issue. As you can see in the image below, this plugin allows you to thoroughly explore the history of a file, a given author, a branch, etc. To activate the Git History window below, right-click on a file and choose “Git: View File History”
Additionally, you can compare branches and commits, create branches from commits, and more.
Git Lens
GitLens supercharges the Git capabilities built into Visual Studio Code. It helps you to visualize code authorship at a glance via Git blame annotations and code lens, seamlessly navigate and explore Git repositories, gain valuable insights via powerful comparison commands, and so much more.
I’ve left the Git Lens plugin for last because it is the one I’ve heard most about in the community and the most powerful. Honestly, in most ways, it can replace each of the previous two plugins with its functionality.
For “blame” information, a subtle message appears to the right of the line you are currently working on to inform you of who made the change, when they made it, and the associated commit message. Cx23880 19 driver for mac. There are some additional pieces of information that pop up when hovering over this message like the code change itself, the timestamp, and more. However, when I tried to grab a screenshot using my shortcuts the message disappeared.
For Git history information, this plugins provides tons of functionality. You have easy access to tons of options including, showing file history, performing diffs with previous versions, open a specific revision, and more. To open up these options you can click the text in the bottom status bar that contains the author who edited the line of code and how long ago it was edited. This will open up the following window.
This plugin is packed with functionality, and it will take a while to take in all that it has to offer.
Conclusion
Hopefully, you are starting to get a feel for the power of VS Code. While focusing on its Source Control integration, VS Code can handle many features that previously would have required the download of a separate tool.